Showing posts with label Condiment. Show all posts

May 17, 2016

Sugar Free Chia Jam


By far the easiest jam recipe you'll ever make.  No cooking, no pectin, no sugar.  Only two ingredients and you can eat it straight out of the jar if you want to. Seriously. Crushed fruit and chia seeds and that's it.

The chia seeds thicken up the fruit so it can become spreadable for peanut butter and jelly or topped on your hot cereal's in the morning.  Also great scooped into your morning smoothie. And chia seeds are super healthy for you, so that's a plus. Noted as one of the most nutritious foods on the planet they have ton's of fiber, protein, Omega-3's and various other nutrients.  You can buy them most places these days, they usually come in a see through container and are dry and very tiny. You can also find them online. And best of all they are usually reasonably priced.

I loved this recipe because clearly, it's very easy.  But also very healthy AND it tastes exactly like the fruit itself, the chia seeds don't add any flavor, just texture.

Chia Jam
Recipe from Time


Ingredients
  • 1 cup crushed fruit
  • 1 Tbsp chia seeds
Cooking Directions
  1. Mix together and place in the refrigerator for a day or two in order for the chia seeds to plump up. Enjoy.

December 22, 2015

Peppermint Marshmallows


Yes, I am waiting until the very last minute to post my Christmas recipes.  Isn't that nice of me?

My friend Melissa and I had a baking day yesterday, as we do every year. We each made three things and then we share what we made, so we each have six items to show for it. I'll share mine all week.

These marshmallows might seem intimidating but they really aren't all that difficult to make.  It's easier if you have a stand mixer but a hand mixer will work also.  You also really need to have a candy thermometer or and instant read thermometer available.

Making marshmallows is basically just cooking a sugar syrup on the stove and then whipping the heck out of it until it becomes white, light and fluffy. Fairly easy but if you have small children you'll really want to be careful with this hot sugar syrup on the stove.  Use the back burner and see if they can be elsewhere when it's time to pour it into the mixer.

These marshmallows are fantastic in hot cocoa.  Gift idea: Make a homemade hot cocoa mixture, place in a bag and put inside of a cute Christmas cup, add a bag of these homemade marshmallows and you have a fantastic homemade gift for someone special.  Enjoy!!

Peppermint Marshmallows
Recipe from King Arthur Flour


Ingredients
  • 3 packets unflavored gelatin
  • 1 cup cool water, divided
  • 1 1/2 cups granulated sugar
  • 1 cup light corn syrup
  • 1/8 tsp salt
  • 1/8 tsp peppermint extract (optional) for a more pepperminty flavor
  • 1/2 cup peppermint candies, crunched up
  • 5-10 drops red food coloring (optional)
  • confectioners' sugar
Cooking Directions
  1. In the bowl of your stand mixer (or a mixing bowl) add the gelatin and 1/2 cup of the water. Let sit.
  2. Spray a 9x13 inch with a non-stick spray and set aside.
  3. In a heavy bottomed saucepan mix the granulated sugar, corn syrup and salt. Turn the heat on to medium and stir until the sugar dissolves. Then turn the heat up to high and bring the syrup to 238 degrees.
  4. With your stand mixer on low, with the whisk attachment (or hand mixer) slowly pour the hot syrup into the bowl with the gelatin. Once it's all been added, slowly turn the speed up to high and watch for the mixture to turn white and thicken. This will take 3-10 minutes depending on your mixer.
  5. You want the mixture to be thick but not so thick that it balls inside of your whisk. It would have cooled down to about 95 degrees.
  6. Add the peppermint extract and then the crushed up peppermint candies. If you're adding food coloring, add it just at the end and don't fully mix it in. You just want the color to sort of stream through the whiteness, leaving streams of red and streams of white.
  7. Spread the marshmallow mixture into the prepared pan and sprinkle confectioners' sugar all over the top. I find it easiest to use a fine mesh strainer to get a nice fine sprinkling over the top.
  8. Let the mixture dry for a minimum of 4 hours but overnight is best.
  9. If possible, it's easiest to lift the entire out of the pan and place on waxed paper and then cut them that way. If not possible just cut them while they are still in the pan and then dredge them into more confectioners' sugar so all sides are covered.
  10. Store them in an airtight container for several days.

August 4, 2014

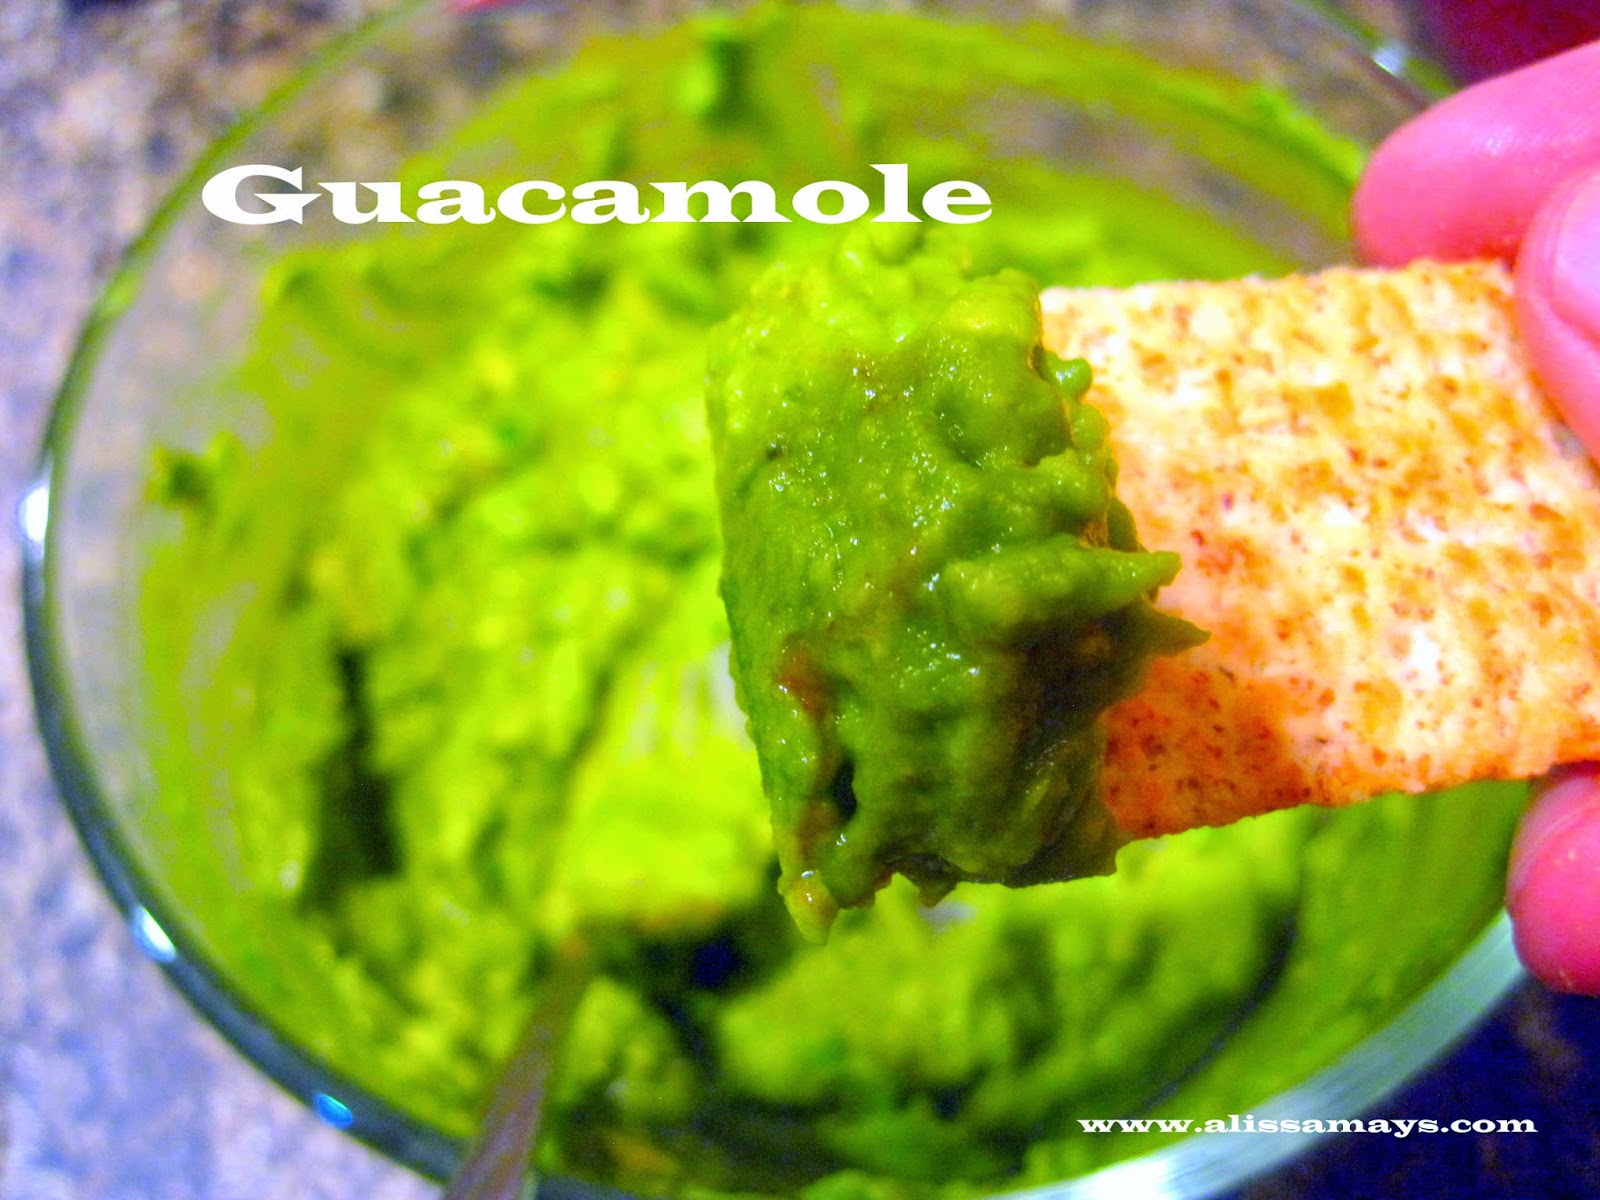
Guacamole


One item you can count on disappearing from your party is guacamole. Everyone seems to love it!

When I was visiting my family in Oregon a couple of weeks ago, I was asked to put together a guacamole for an event.  Turns out, everyone loved it.  My aunt suggested I put in the cumin and it was the perfect ingredient!  You can make guacamole a million different ways but this one seemed to be the winner for us.

Keep in mind, air is the enemy of avocado's too.  Get that lemon juice in there and mixed in well so it doesn't turn a funky color on you!

Enjoy!

Guacamole
From Alissamay's kitchen


Ingredients
  • 2 ripe avocado's, seed and skin removed
  • 1/2 cup green onions, chopped
  • 2 medium roma tomatoes, seeded and chopped
  • 1 medium jalapeƱo, seeded and minced
  • 1/2 tsp cumin
  •  the juice from 1 small fresh lemon
  • salt and pepper to taste
  • 1 Tbsp cayenne pepper sauce (like Tobasco)
  • 1-2 Tbsp fresh cilantro, finely chopped (optional)
Cooking Directions
  1. Use a medium bowl to mash the avocado with a fork. Some chunks are fine, it's up to you how smooth you want it.
  2. Add the remaining ingredients (minus the cilantro) and mix well, tasting as you go.
  3. Add the cilantro last, right before serving.

May 30, 2014

Ultimate Barbecue Sauce


I made this sauce once long ago and I never forgot it.  Sometimes that happens.  That is a perfect example of why I now have a blog.  I have to have some sort of record as to what I've made or else I'll never remember. But I digress…

So my husband told me a couple of nights ago that he really felt like making baby back ribs, as it turned out, I really felt like eating some so it worked out well. The only thing I didn't feel like, was store bought barbecue sauce.  Don't get me wrong, I use store bought all the time and it's totally yum.   But, I wanted to have super fancy, very special ribs, so I just made a sauce myself.  I LOVE this sauce.  I love it as much this time as I did last time.  It really takes the flavor of the meat to a whole new level.  It's not spicy, it's sweet with a bite of vinegar.  It's smooth but it has pieces of onion.  It's just perfect in my opinion.

I doubled the recipe so I'd have some in the refrigerator for other uses.  The original recipe is for barbecued chicken so maybe I'll whip some of that up.  You can't go wrong with this sauce!

Ultimate Barbecue Sauce
Recipe from Tyler Forence


Ingredients
  • 1 slice bacon
  • 1 bunch fresh thyme
  • extra-virgin olive oil
  • 1/2 onion, chopped
  • 2 garlic cloves, chopped
  • 2 cups ketchup
  • 1/4 cup light brown sugar
  • 1/4 cup molasses
  • 2 Tbsp red or white wine vinegar
  • 1 Tbsp dry mustard
  • 1 tsp ground cumin
  • 1 tsp paprika, smoked if you have it
  • fresh ground black pepper
Cooking Directions
  1. In a large saucepan, heat 2 Tbsp olive oil and then wrap the slice of bacon around the thyme and add it to the hot oil. Cook for about 4 minutes so the bacon can render.
  2. Remove the bacon/thyme and discard.
  3. Add the chopped onion and garlic and let cook but do not brown it. Cook about 5 minutes.
  4. Add the remaining ingredients and then reduce heat to simmer and cook for about 20 minutes.

May 14, 2014

Strawberry Freezer Jam


What do you do when you have all these fresh strawberries and they are starting to go bad? Make jam! I know, I know, don't panic.  Freezer name is much easier then traditional jam making.  You don't even have to have canning jars, but you do need some sort of jar with a lid.

I'm sure you've noticed how fast fresh strawberries tend to go bad, right? Don't let your efforts be wasted by throwing them away.  Even if you just bought them from the grocery store, don't throw your money away either.  Freezer jam is easy.  No thermometer, canning jar's or supplies are needed.  I promise.

You do need a box of pectin but that's all you need from the canning jar isle, unless you specifically want the canning jars.  Even if you buy too many there are a million and one uses for canning jars.  Store everything from spices to leftovers in them.  I make salad dressing in them because it's convenient to just shake it in the jar and them just set the jar on the table for serving.  Give gifts in them, use them as a flower vase.  Really, you can always use extra jars and lids.

Just store the jars in your freezer when you're done, let them thaw in the refrigerator and then use them in about a month and you've saved all that yumminess and money for later use.  The jam is so tasty!  Peanut butter and jelly never had it so good, or use it to spread on toast.  There are so many uses for canned jams and jelly's.  Even if you give them away to your family or friends, they'll be so happy and you'll be a hero.  Give this recipe a try!

Strawberry Freezer Jam
Recipe from All Recipes


Ingredients
  • 2 cups fresh strawberries, crushed
  • 4 cups granulated sugar
  • 1 (1.75 oz) package pectin powder
  • 3/4 cup water
Cooking Directions
  1. Crush the strawberries and add the sugar, stir and let sit for 10 minutes.
  2. Meanwhile, in a small saucepan combine the water and the pectin. Bring to a hard boil and boil for 1 minute.
  3. Turn off the heat and let sit for 1 minute.
  4. Mix the pectin mixture in with the crushed strawberries, stir until the sugar has dissolved and let sit for 3 minutes. Pour into the containers and tighten the lids. Let sit for 24 hours and then place in the freezer.
**Once thawed, they will last for about 1 month in the refrigerator. 

October 4, 2013

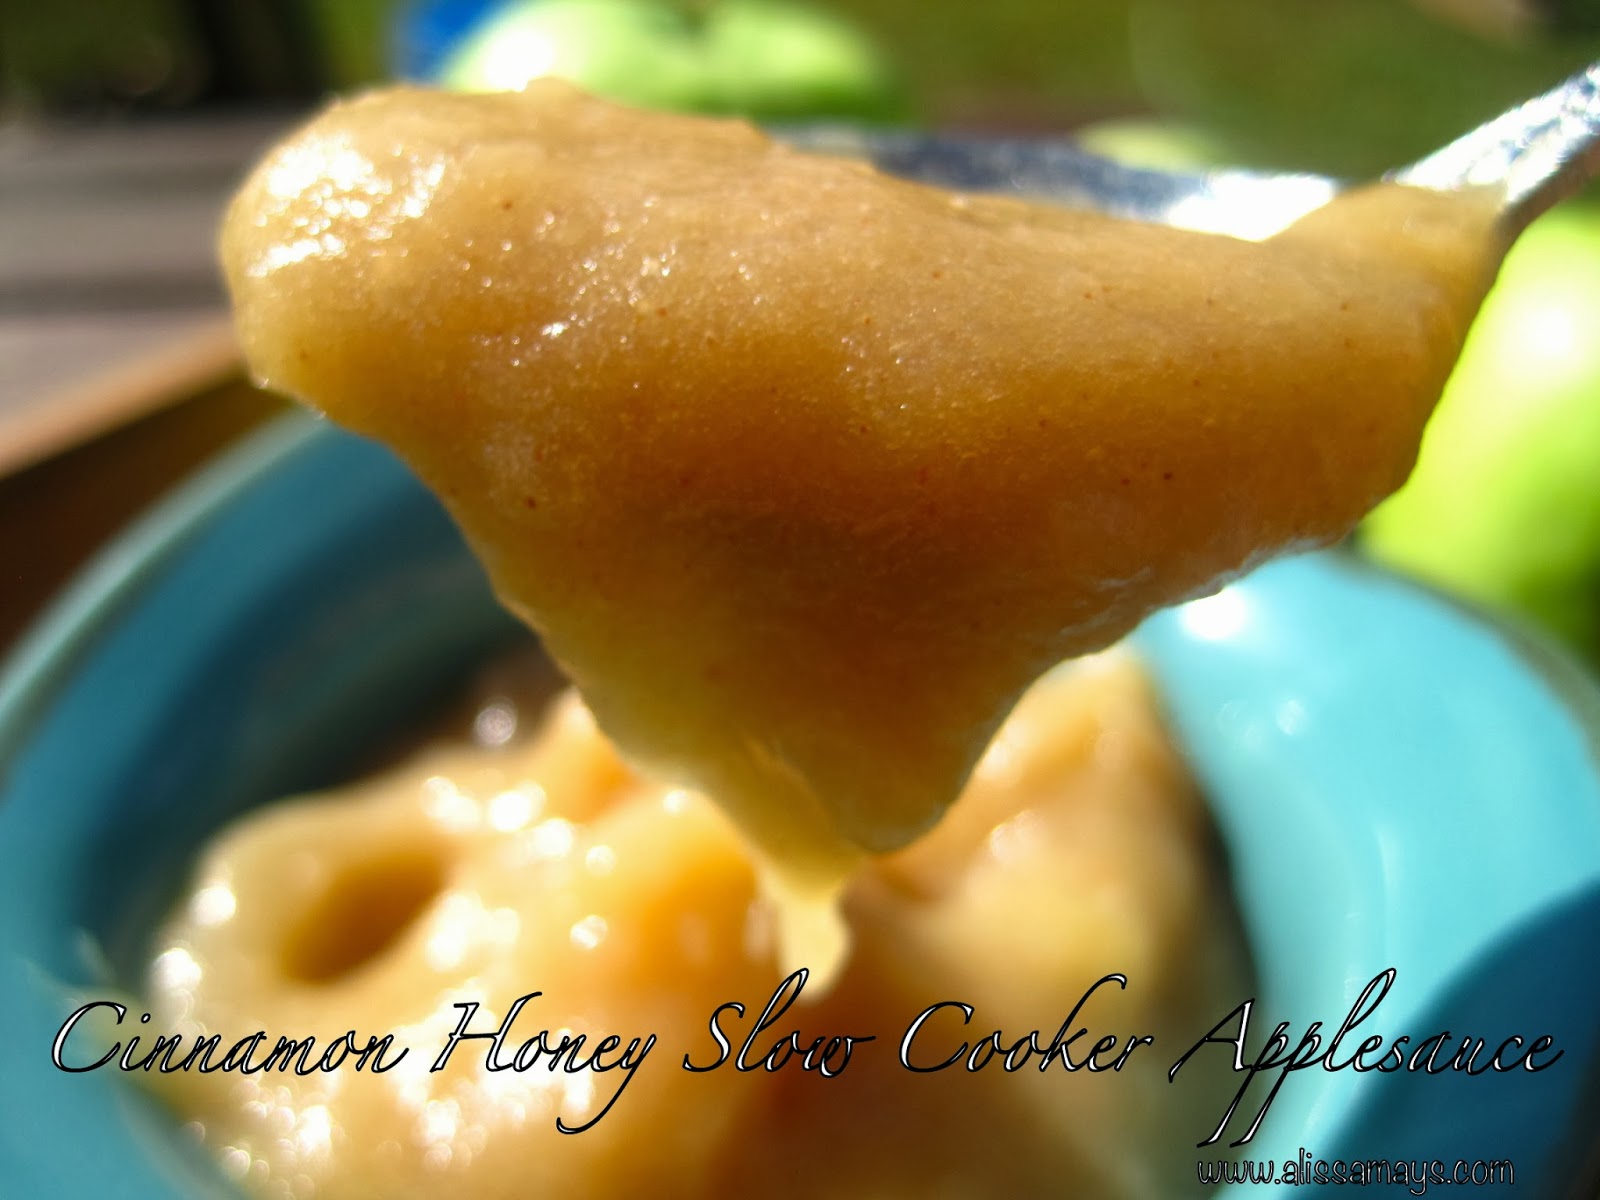
Cinnamon Honey Slow Cooker Applesauce


As you know, our apple picking from last weekend left us with a lot of apples to use up.  I'm not complaining, I'd go again tomorrow if I could.  But I am on the lookout for some good apple recipes, if you've got some please feel free to send them my way.

My daughter practically lives on applesauce so I decided that was a good way for me to use up some apples. I didn't make a ton of it just in case she didn't like it, but luckily she did.  The consistency of this applesauce is different from the kind you buy at the store.  It's creamier.  I'm not sure if that's because of the type of apple I used or the way I cooked it but it's not a bad thing at all.  I didn't use any apple cider in my applesauce so if it's too thick for you just add some cider or even water.  We really liked the texture so it's perfect for us.

The taste is phenomenal, very smooth and sweet with just a hint of cinnamon in the background. The honey just takes the edge off the tartness in the apple but you can't really taste the honey very much. The nice thing about this applesauce is it works great on a english muffin or toast because of how thick it is. Almost a combination of applesauce and apple-butter without all those spices and sweetness.

Pure apple goodness with none of the sugar!


Cinnamon Honey Slow Cooker Applesauce
From Alissamay's kitchen


Ingredients
  • 7-8 medium apples (I used Jonagold)
  • 1-2 Tbsp honey, or more depending on how sweet you want it
  • 1 tsp cinnamon
Cooking Directions
  1. Peel, core and dice the apples and place them in the slow cooker.
  2. Cook on low for 2 hours or until the apples are very soft.
  3. Add the cinnamon and honey and taste until your desired flavor is reached. The apples should be soft enough by now that they can be smoothed out using just a spoon.  Stir until completely smooth. 
  4. Let cool and store in an airtight jar for about a week in the refrigerator.

September 23, 2013

Easy Pickled JalapeƱos


What do you do with a hefty yield of fresh jalapeƱos from your garden? Can them.  Can you? Of course you can.  OK I'll stop.

Even if you know nothing of canning don't fret, this isn't really "canning".  These are refrigerator pickled jalapeƱos, much easier than the traditional canning method where specialized equipment is sometimes needed.  All you need to make these happen is some jars, some jalapeƱos and about 30 minutes.

One question I know you're going to ask me is how long do they have to sit in the refrigerator until they are ready to eat.  Well, it's like this.  The longer they sit the more pickle-y they become.  Technically you can eat them immediately after canning but they will develop a stronger taste the longer you wait. The good news is, they last a really long time in the refrigerator, Jami from "An Oregon Cottage" said she's still using her's after about a year!  If I still have any in a year I'll let you know.

I made a much smaller batch than the original recipe.  I like jalapeƱos and all but I can't eat them everyday, so I needed to tone it down a bit.  Great way to use up some of those garden jalapeƱos!

Oh, one more thing.  I found two red jalapeƱos when I went to pick these.  I had to look it up and find out what that meant.  Are they hotter? Milder? Turns out they are just more ripe but the flavor is much the same.  Adds a pretty color to the jars in my opinion.  Also, don't be afraid to add in some sliced carrots...you get the nice pickled jalapeƱo flavor without all the heat.

Easy Pickled JalapeƱos
Recipe from AnOregonCottage

Ingredients

  • 1 - 1 1/2 pounds of fresh jalapeƱos
  • 6 garlic cloves
  • 3 cups apple cider vinegar
  • 1 cup water
  • 1 Tbsp pickling salt
Directions
  1. Wash the jalapeƱos, cut off the tops and then slice into 1/4 inch pieces. 
  2. Cut each garlic clove in half. 
  3. Pack the sliced jalapeƱos into three pint sized jars and add 4 garlic clove halves to each jar. 
  4. In a medium saucepan, add the vinegar, water and salt.  Bring to a boil. 
  5. Pour the hot liquid over the jalapeƱos. 
  6. Screw on the tops and rings and refrigerate.  The original poster of this recipe says she has used her's up to a year later. 
  7. **If you want to "can" these jalapeƱos, make sure the liquid is to within 1/4 inch at the top of the jar before securing the lids.  Process in a water bath for about 10 minutes. The jalapeƱos will be softer than the refrigerated version but refrigeration will not be necessary until they have been opened.

July 26, 2013

Refrigerator Dill Pickles


In an attempt to find ways to use all the cucumbers from my garden, I've been pickling. I've already shown you the bread and butter recipe I found, which I LOVE.  These are a dill refrigerator variety.  That means they aren't put through the normal canning process and must stay in the refrigerator for preservation.  The plus side is that they are done relatively quickly (10 days), the minus side is that we're in a rush to eat them before they need to be tossed.

I love all pickles, in fact I love (almost) all things pickled.  I know, I'm a little weird like that.

These pickles have a hint of sweetness, not overpoweringly but you can definitely taste it. I actually chose not to make mine spicy as the original recipe calls for because I knew I'd be giving them to my daughter.  I thought they were delicious.  A very nice change from the kind you buy from the store but still definitely dill.  You also get a good amount of garlic taste, if your crowd isn't all eating these you might want to sneak a mint. :)

I hope you'll give them a try.  It's a great tasty way to use up some garden cucumbers.

Refrigerator Dill Pickles
Recipe from allrecipes


Ingredients
  • 12 - 3 to 4 inch pickling cucumbers
  • 2 cups water
  • 1 3/4 cup white vinegar
  • 1 1/2 cups chopped fresh dill weed
  • 1/2 cup white sugar
  • 8 cloves garlic, chopped
  • 1 1/2 Tbsp coarse salt
  • 1 Tbsp pickling spice
  • 1 1/2 tsp dill seed
  • 4 sprigs fresh dill sprigs
*Add 1/2 tsp red pepper flakes to make these spicy

Directions
  1. In a large bowl, combine all the ingredients and stir together.  I cut my cucumbers in quarters length wise but the original recipe doesn't say to do so. Let sit for 2 hours until the sugar and salt have dissolved. 
  2. Use 3 - 1 1/2 pint wide mouth jars.  Place 4 whole (or cut up) cucumbers in each jar. Pour the liquid over the cucumbers to cover them.  Add 1 sprig of fresh dill to each jar. Seal each jar and let sit for 10 days before eating. Use within 1 month. 

July 24, 2013

Restaurant Style Salsa


Looking for a classic dish to bring to any party or just to have on hand?  You can't go wrong with this recipe. Loads of flavor and so easy to put together.  I used mine on nacho's but try adding some to a casserole or slow cooker meal.  

When I brought this to a friends party not long ago, we all sat around the table and just tore through a bag of chips and this salsa.  Then dinner was served......and we weren't hungry anymore. 


This salsa is exactly what  you might think of when you are at a Mexican restaurant, it's not the tomato sauce-y kind but more of a fresh tomato taste.  It's essential to let the flavors blend for at least an hour in the refrigerator.  So good, it will be a favorite.

Restaurant Style Salsa
Recipe from The Pioneer Woman

Ingredients

  • 1 can (28 oz) whole tomatoes with juice
  • 2 cans (10 oz) Rotel tomatoes
  • 1/4 cup chopped onion
  • 1 clove garlic, minced
  • 1 whole jalapeƱo, seeded, quartered and sliced thin
  • 1/4 tsp sugar
  • 1/4 tsp salt
  • 1/4 tsp ground cumin
  • 1/2 cup cilantro, or more to taste
  • 1/2 whole lime, juiced
Directions
  1. Use a large food processor (12 cup) or do this in batches. 
  2. Add all the ingredients into the food processor and pulse about 10-15 times. 
  3. Refrigerate for at least 1 hour. 


June 26, 2013

Bread and Butter Pickles


With the current bounty in our garden I've been on the search for recipes, and as soon as I found this one I jumped on it and made it immediately. My husband and I both love bread and butter pickles.  We put them on sandwiches and eat them right out of the container.  They are both sweet and savory, and have remained crunchy in the refrigerator for a week.  They are almost gone, and I will make more.

If you're not sure if you like this type of pickle, it's sort of a hard flavor to describe.  You get the vinegar flavor but it's sweet also, the celery seed definitely adds another layer of flavor but isn't overpowering. The onions aren't strong at all, they mesh perfectly with the cucumbers. The turmeric turns the pickles the golden color. 

This recipe is nice because unlike dill pickle recipes, you can have these in about 24 hours. If you're impatient like me, this is heaven.

I will make sure to have a container of these pickles in my refrigerator at all times this summer.

Bread and Butter Pickles
Recipe from Brown Eyed Baker


Ingredients
  • 5 1/2 cups (about 1 1/2 pounds) thinly sliced cucumbers
  • 1 1/2 Tbsp kosher salt
  • 1 cup thinly sliced sweet onion
  • 1 cup granulated sugar
  • 1 cup white vinegar
  • 1/2 cup apple cider vinegar
  • 1/4 cup light brown sugar
  • 1 1/2 tsp mustard seeds
  • 1/2 tsp celery seeds
  • 1/8 tsp ground turmeric
Cooking Directions
  1. Combine the sliced cucumbers and the salt in a small bowl. Refrigerate for 1 1/2 hours. Drain the water, rinse well and return to the bowl.
  2. Add the onion slices and mix well.
  3. Combine the remaining ingredients in a medium saucepan and heat to a simmer over medium heat, stir until the sugar dissolves.
  4. Pour the hot vinegar mixture over the cucumber and onions and let sit for 1 hour.
  5. Refrigerate for 24 hours in a covered bowl.
  6. Keep in an airtight container for two weeks.

July 20, 2012

Tomato Jam


When you make this think "gourmet ketchup" only way better.  It's sweet like a jam but the tomato flavor is concentrated and totally yummy.  I'm so glad I made this for two reasons.  I had a bunch of Roma tomatoes to use and I'm a huge condiment fan.  I usually put some sort of condiment on everything I eat.  I know, it's a problem.  Here's the other problem, I might never want to eat regular ketchup again after making this.  Seriously.  It's that good.


Dice up 1 1/2 pounds of tomatoes.  You can leave the skins on, just core them.


Add all of the ingredients into a medium saucepan.


The aftermath of my prep work.


Bring to a boil and then reduce to a simmer for about an hour or so.


After about an hour, it's almost done.


The finished product.  I am super excited about having this in my refrigerator.  I can't wait to try this on some different items like biscuits, hot dogs, burgers and even on sandwiches.  Let me know if you try it and what you think!


Tomato Jam
Recipe from The New York Times

1 1/2 pounds of ripe tomatoes.  I used Roma, cored and coarsely chopped.
1 cup sugar
2 Tbsp freshly squeezed lime juice
1 Tbsp grated or minced ginger
1 tsp ground cumin
1/4 tsp ground cinnamon
1/8 tsp ground cloves
1 tsp salt
1 jalapeƱo or other pepper, seeded, stemmed and minced. You could also use red pepper flakes or cayenne to taste.  I used a jalapeƱo (the jarred kind).

Mix all the ingredients in a heavy bottomed sauce pan and cook over medium heat to a boil.  Stir consistently.

Turn the heat down to simmer and cook for about another 1 hour and 15 minutes or until the sauce is thick like a jam. Stir occasionally.  Mine was done after about an hour.

Makes about a pint, keep refrigerated and it will last at least a week.