Showing posts with label Pineapple. Show all posts

May 28, 2014

Pineapple Upside-Down Cake


You're looking at the dish that I see most often at potlucks.  It never fails, Pineapple Upside-Down cake is always on the menu. That's because it's a classic.  Almost all of us have had it and it brings back memories, not to mention it tastes great. 

The cake portion of the recipe is a simple white cake, but the caramel-y, fruity topping (which starts on the bottom, hence the name) takes the place of frosting.  It's sweet and delicious.  

I brought this cake to my neighborhood Memorial Day party and it was perfect because it can withstand being outside in the heat without melting. There's a reason that this cake has made it into "classic" status and has been around for so many years.  

Pineapple Upside-Down Cake
Recipe from Trisha Yearwood


Ingredients
  • 3 Tbsp butter
  • 1/2 cup light brown sugar
  • 1 can (20 oz) Pineapple slices (9 slices needed)
  • 5 maraschino cherries, cut in half
  • 1 1/2 cups all-purpose flour, sifted
  • 2 tsp baking powder
  • 1/4 tsp salt
  • 1/3 cup vegetable shortening, at room temperature
  • 2/3 cup granulated sugar
  • 1 large egg
  • 3/4 tsp vanilla extract
  • 2/3 cup milk
Cooking Directions
  1. Use an 8x8 inch pan. Put on the burner on low heat and melt the butter. Remove from the heat and add the brown sugar, stir to combine.
  2. Preheat the oven to 350ยบ
  3. Place the pineapple slices on top of the brown sugar mixture, 3 rows of 3.
  4. Cut the maraschino cherries in half and place one half in the middle of each pineapple, cut side up. Set aside.
  5. Sift the flour, baking powder and salt in a bowl and set aside.
  6. In the bowl of your stand mixer combine the shortening, sugar, egg and vanilla extract. Mix well.
  7. Alternatively add the flour mixture and the milk, starting and ending with the flour. Only mixing long enough to combine after each addition.
  8. Carefully pour the mixture on top the pineapple slices using a spatula or spoon to spread it out evenly.
  9. Bake for 40 minutes or until done. Check for doneness by inserting a toothpick, if it comes out clean it's done. Or you can press on the middle of the cake and if it springs back, it's done.
  10. Remove from the oven and flip over onto a dish, leave the pan inverted on the top for several minutes so the syrup can soak into the cake.

August 7, 2013

Fantastic Fruit Salad


We finally made it back home!  It was a long, long process.  I had such a good time visiting my family in Montana that it overpowers our struggles to get home. I will be posting pictures soon, I still need to figure out how to get some off of my phone....I guess I'll google that.

While we were there, my aunt made us several meals and this fruit salad was at two of them.  It was a definite hit.  Even though I didn't make this myself, I felt it had to be shared.


Talk about the perfect summer fruit salad.  Since there isn't any dairy this can be brought on a picnic where refrigeration isn't possible.  The pie filling made the salad smooth and added a nice sweetness.  I really liked the use of fresh strawberries vs frozen, I would definitely make this again.

Fantastic Fruit Salad

Recipe from my aunt Cathy

Ingredients
  • 2 cans mandarin oranges, drained
  • 2 cans (15 oz) pineapple chunks, drained
  • 1 (16 oz) package frozen strawberries (she used fresh)
  • 1 can peach pie filling
  • 1 can apricot pie filling (she couldn't find this so she used 2 can's of peach)
  • 2 banana's, sliced
Cooking Directions
  1. Add all of the ingredients into a medium bowl and gently mix together.

April 12, 2013

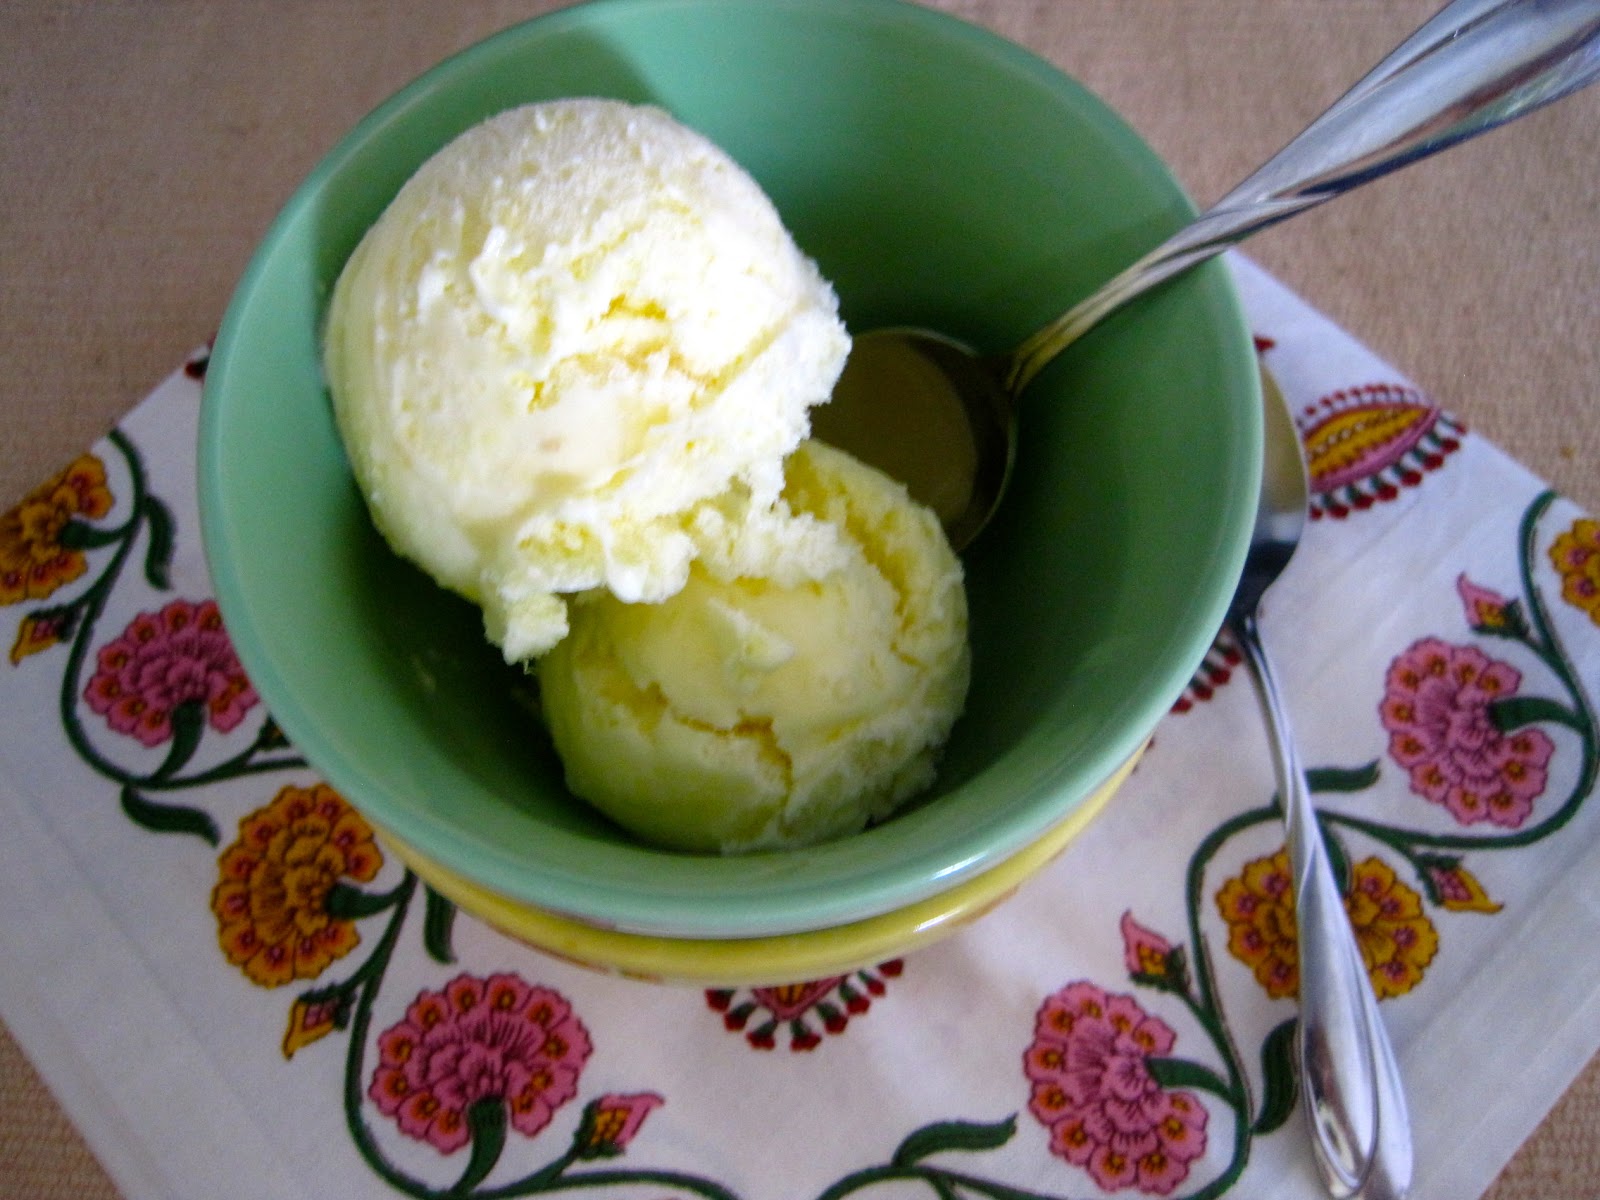
Pineapple Gelato


It's the time of year when we all start to think about beaches and pools and cool drinks.  Most of us will try our hardest to stop baking so the oven doesn't make the kitchen any hotter and all the while we're sweating it out at the gym so we can look just right in our bathing suits.  It's a vicious cycle but we do it every year.

Speaking of things we do every year, I am in love with my ice cream maker.  Making ice cream is so easy and I love trying out new recipes. I've posted a picture of my ice cream maker at the bottom of this post.  I'm sure there are a million different options out there but I sure do like this one.


This is a very mild flavored ice cream.  Pineapple isn't necessarily the strongest taste anyway but it's oh so good on a hot day when you're just trying to relax. 

If some of you are wondering what the differences are between ice cream and gelato here it goes.  Any "gelato" that you make in an ice cream maker in the comfort of your own home is most likely going to be ice cream and not gelato.  Gelato is churned at a slower speed so it becomes more dense then an ice cream churner.  Gelato is also less fat then a typical ice cream.  Ice cream usually has about 10% fat content where as Gelato is around 7-8% fat.  Another big difference is the temperature in which the Gelato is cooled.  It's not frozen at the same temperatures we have in our freezers and is in fact warmer and therefore the Gelato doesn't get completely frozen and is served sort of halfway between frozen and refrigerator temperature.  I hope that clears things up.  Essentially my "gelato" is really more like ice cream.  I guess if you want the authentic gelato you'll probably have to visit an ice cream shop, specialty shop or Italy. :)  If you're really set on making your own authentic gelato there are gelato makers out there, since I haven't tried any of them I wouldn't be able to give my opinion. 

Pineapple is one of those classic summer fruits so I find that this gelato/ice cream is perfect!  If you're in the mood for something slightly different check out the link below for the original recipe which includes rosemary!


Pineapple Gelato
Recipe modified slightly from Bakingdom


Ingredients
  • 1 cup milk
  • 2 cups heavy whipping cream, divided
  • 3/4 cup granulated sugar
  • 3 large egg yolks
  • 1 - 15.5 ounce can crushed pineapple with the juice (or use fresh like I did)
Cooking Directions
  1. In a large bowl, pour 1 cup of heavy cream and place a mesh sieve on top.
  2. In a medium saucepan, add the other 1 cup of heavy cream and the milk and sugar and cook over medium heat until the sugar has dissolved and the mixture is right below the boil point.
  3. In a separate bowl whisk the egg yolks and slowly add some hot milk mixture (about a cup) while whisking constantly.
  4. Now add the tempered egg yolks back into the milk mixture and bring to a low boil until the mixture has thickened and can coat the back of a spoon.
  5. Pour the hot milk/egg mixture through the mesh sieve into the cream and mix well. Add the crushed pineapple and mix.
  6. Place some plastic wrap over the mixture (touching the mixture) until it has cooled to room temperature.
  7. Refrigerate overnight.
  8. Put the mixture in your ice cream maker; following your manufacturers instructions.
  9. Freeze.