May 31, 2011

Browned Butter Chocolate Chip Cookies


Still on my quest to find the "perfect" chocolate chip cookie.  I'll probably always be on that quest, lets face it.  I did however really enjoy these!  The combination of browned butter and dark brown sugar give these a toffee like cookie dough flavor.  The color is much deeper than a regular chocolate chip cookie and they are moist and chewy just like I like em.


I couldn't find my camera during the making of the cookies so sadly this is all I have, the finished product.  Try these, you won't be sorry.


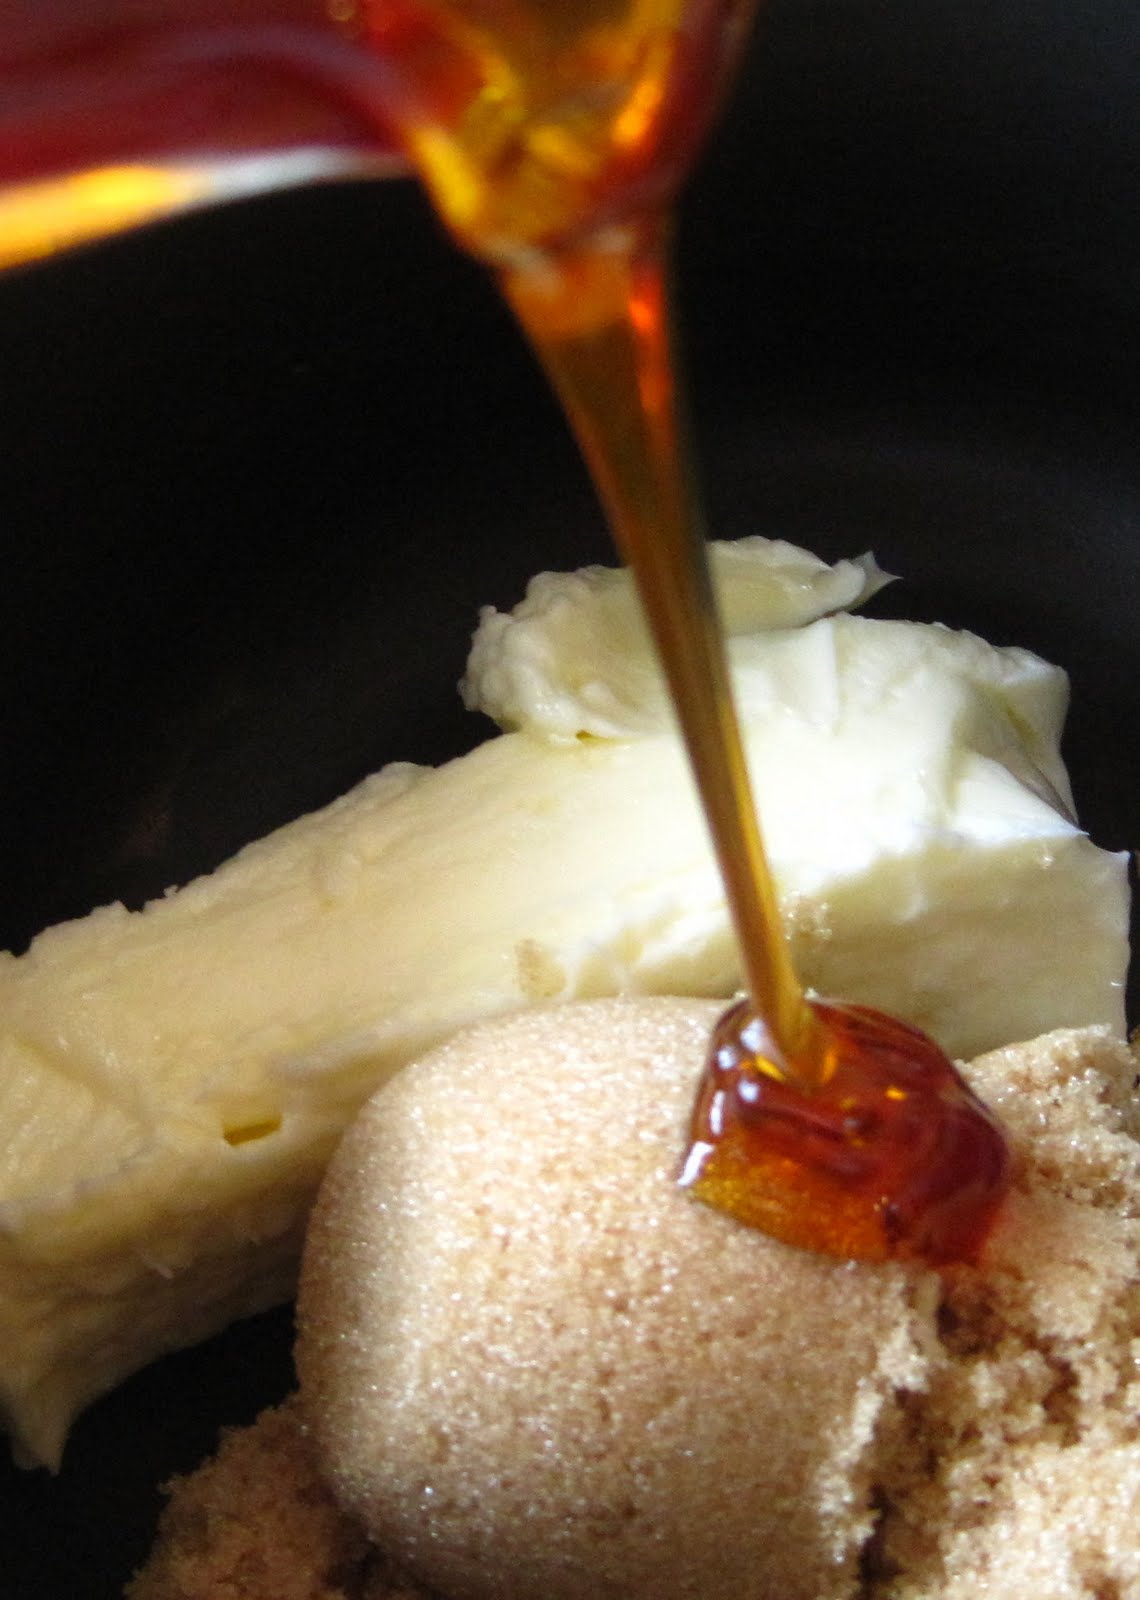
These are simple to make, although very different from regular chocolate chip cookies.  When browning the butter just be patient, it'll turn a nice golden color if you keep watching it and stirring every so often.

Once you combine the sugar with the browned butter it'll look very buttery and not very well combined.  It's ok, it's supposed to look that way. Once you start to add in the other ingredients it'll start to look normal again.

I found the recipe here.  The info below is copied directly from the link to the left.

Browned Butter Chocolate Chip Cookies


Yield: 2 1/2 dozen
Prep Time: 30 min
Cook Time: 12 min
Ingredients:
2 1/4 cups bread flour
1 teaspoon kosher salt
1 teaspoon baking soda
1 cup unsalted butter
1/4 cup granulated white sugar
1 1/4 cups dark brown sugar, packed
1 Tablespoon half and half cream
1 Tablespoon lemon juice, freshly squeezed
1 1/2 teaspoons vanilla extract
1 large egg
1 large egg yolk
2 cups chocolate chips


Directions:
1. Sift together flour, salt and baking soda; set aside.
2. Melt butter in medium saucepan over low heat. Continue to cook on low heat, stirring often, until butter is browned. Turn off heat and stir in white and brown sugars.
3. Scrape into a medium mixing bowl and use electric mixer to cream the butter and sugars together. Add half & half, lemon juice, vanilla extract and eggs. Mix in until well combined. Add half of the flour mixture and incorporate into the batter with electric mixer. Add the rest and mix until thoroughly combined. Stir in the chocolate chips. The cookie dough will be very soft and buttery. Cover the bowl with plastic wrap and chill until firm (an hour or two).
4. Preheat oven to 375°F. Line baking sheets with parchment paper. Scoop up heaping Tablespoonfuls of cookie dough and use your hands to roll into balls. Place 12 balls on a sheet, keeping about an inch and a half between each ball.
5. Bake 10 to 12 minutes, depending on how large you've rolled your balls (mine took 11 minutes).

Tips:
*Milk may be used in place of the half and half cream, if needed.
*I prefer to use bittersweet chocolate chips in this cookie recipe.
*Cool completely and store in an airtight container.

Source: RecipeGirl.com (Adapted from Alton Brown)

May 29, 2011

Chunky Guacamole


Memorial Day is upon us!  I'm so excited for this long weekend to thank our Military and spend some much needed time with our family and friends.  I hope you're all going to be spending some much needed time enjoying the life that our Military has made possible for us all.

Burgers, hot dogs, potato salad, beans....and guacamole!  Traditional barbecue food that we all love.  I've been making this guacamole dip ever since I saw it on The Food Network from Ina Garten.  I just love it.  I hope you do also. 


Four Haas Avocado's


Above is the avocado, onion, tomatoes, hot sauce, lemon juice, garlic, salt and pepper. Just throw it all in a bowl.


In a medium sized bowl, use two knives to slice the avocado's into bite sized pieces while incorporating all of the other ingredients at the same time.  Make the chunks as big or small as you like. 


Yum, enjoy! Happy Memorial Day!


4 Ripe Haas Avocado's
3 Tbsp freshly squeezed lemon juice (1 lemon)
8 dashes hot pepper sauce
1/2 cup small diced onion
1 large garlic,  minced
1 medium tomato, seeded and diced
Salt and Pepper to taste

Remove the pits from the avocados, take the peel off.  Squeeze the lemon juice over the avocado.  Add the rest of the ingredients; use two knives to cut the avocado's into bite sized pieces.  Add Salt and Pepper to taste. 

I found this recipe here

May 26, 2011

Caramel Sauce


I may have some sort of weird addiction to caramel sauce.  I'm just sayin, this is the second recipe I'll have posted about caramel and it's not likely to end anytime soon.

This one is super easy and super yummy.  That my friends is a dangerous combination.


Then entire recipe only has 4 ingredients.


Bring the first 3 ingredients to a hard boil for two minutes.


Add the sweetened condensed milk and let boil for just a minute.  Then remove from the heat.

Seriously.  That's it, you're done now.  Refrigerate in an air proof container, or eat all in one sitting.  It's totally up to you, I won't judge.

You can find the recipe here.

May 24, 2011

Braciole and a Dinner Party

My friend Melissa and I live on the same street, and we thought it would be fun to start a dinner club.  So once a month we have dinner at a different persons house and we invite most of the ladies from our street to join us/host the party.  So far we've done two dinners, once at Melissa's house and once at mine.  This last one was at my house, I took pictures to prove it.  In case some of you think I don't have any friends...actually these are pictures of the food, not the people.  I promise to get the people in some photographs at our June dinner.

I decided to make Braciole.  The theme was Italian and I've never made it before so, what the heck!


The cast of characters is above.  Not a ton of ingredients.  I was feeling pretty confident.


First you need to get the bread crumbs, cheese's, parsley and garlic int a bowl and mixed together.


Spread the mixture evenly on top of the flank steak.


Roll the flank steak up, jelly roll style.  Attempt to keep as much of the bread crumb mixture inside as possible. It's harder then is sounds, trust me.


Tie the flank steak with about 3 pieces of cooking twine to keep it rolled.  Heat some oil in a skillet and brown on all sides.


Add the wine and bring to a boil.


Add the marinara sauce. Cover with foil and stick it in a hot oven and cook for 30 minutes then baste with sauce and recover.  Cook for another 30 minutes, baste again.  Leave uncovered for the last 30 minutes.


It turned out tender and delicious.  Way easier than I thought it might be. 

Here are some of the other goodies that my friends brought.


Made by Teresa! Yum.  A Caprese salad, and cheesecake with strawberries!


Made by Melissa!  A yummy Caesar Salad and Pesto Hummus!


Wonderful Cioppino Soup made by Anjanette!


We had a wonderful time and learned so much about one another.  I can't wait to do it again next month!

I'm happy to get the recipes above for anyone who is interested, just leave a comment!

Here is where I found the recipe for the Braciole.

May 22, 2011

Caterpillar.....I think, yeah, I'm pretty sure it is.


Look what my daughter found on my lemon tree.


I'm pretty sure it's a Caterpillar for a very large moth.  Any ideas?


I'd love to hear from you if you know what it is. 


It's about 3 inches long. :) I think I'll name it soon, but knowing exactly what it is will help in the naming process.

Update - figured out that this little guy is a Giant Swollowtail.  I've named (her - I'm just going to assume) Bella, since it means "Beautiful" and I'm hoping we get to see it turn into a butterfly.  It has started to make it's chrysalis on my lemon tree.

May 20, 2011

Chicken Salad


In my attempt to use leftovers/prove I eat things other than sugar I decided to make this chicken salad.  The chicken itself was a beer can chicken my dad made on the grill while he was visiting so there were some nice pieces of grilled crispy meat in here.  Delicious.  It just gets better with time too, my husband had some just yesterday and commented that it was even better then when I made it a couple of days ago.


Start by cubing up some chicken, I used both the white and dark meats here.


Bacon!


Onion - diced


Dried Cranberries


Water Chestnuts - diced


Added mayo, Worcestershire sauce, salt and pepper


I didn't really measure anything so I'll try to guess at the amounts I put in.  You'll need to do some taste testing if you make this to make sure it's just right for you.

3 cups chicken - diced
3/4 cup onion - diced
1/2 cup cooked bacon - diced
1/2 cup dried cranberries
1/2 water chestnuts - diced
1 cup mayonnaise
1 Tbsp Worcestershire sauce
salt and pepper to taste.

Dice up the first 5 ingredients (no need to dice the cranberries) and add to a bowl.  Making them all about the same size looks nice for presentation but isn't necessary.
Mix the mayonnaise, Worcestershire sauce and salt and pepper in a small bowl and then add to the chicken mixture.  Stir until evenly coated, adding more mayonnaise if needed. 
Server immediately or refrigerate overnight.  It just gets better the longer it sits.

Some additional add-ins that would be yummy.

Tabasco sauce
celery
apple
cheddar chunks
chili powder

May 18, 2011

Cream Filled Cupcakes


My daughter recently had her 3rd birthday, I can't believe I have a 3 year old. Well I had decided a long time ago that I was going to make her cute little ladybug cupcakes.  Of course, a day before her party she tells me she wants pink cupcakes.....so I made both.  Chocolate was an easy choice, her favorite is chocolate.  I wanted to make these extra special so I searched the Internet and found these.  Cream filled cupcakes.  I mean honestly, Martha Stewart is a genius!  These taste just like Devil Dogs - this might be a Northern treat but if you've never had one they are yummy.  Sort of like a Little Debbie snacks.

This recipe is pretty standard for the cake part.  It called for Jumbo muffin cups but since I only had regular I just used those and they turned out just fine.


Now, the filling is easy to make also.  Just two ingredients; butter and marshmallow cream. Put it in the refrigerator for about 30 minutes and then put into a zip-lock bag, and cut the corner off.


Use a melon baller to scoop out the "plug" from the bottom.  Save this little plug.  Once the first scoop is out, scoop out a bit more so the filling has some space to go.


This one's a little full, but you get the idea. 


Now put the plug back in.  This takes a couple of tries to get the technique down and then it goes pretty quickly.


I tried several different methods of decorating these. First I tried just frosting the red on with a knife, and that worked just fine.  Then I started to fancy it up a bit by piping it on using a fancy tip.  I used a buttercream frosting that I found here. I used an entire tube of red food coloring here.  I took some of the frosting out of the bowl to make the pink frosting, and then left the rest for the red frosting.


You can buy these little eye's at Michael's craft store. I also bought the black frosting and I bought the tips that just screw onto the tube.  I did do some cupcakes that had the chocolate chips for spots, some that I used the black frosting to dot them on, some I used a cookie for the face (Keebler mint chocolate cookies were perfect) but I didn't have anything to make a mouth or antenna's with - and with the round head sort of sticking out from the cupcake I felt like it needed those things.  Eyes just weren't enough - so most of the cupcakes I did using this method shown above.


The pink one's were also all decorated differently.  I used a different method of decorating each of them, I think I made about 10 of them.  Some I put red sprinkles on like the one above, some I put chocolate chips on, some I left plain. 


But they were all filled with delicious cream.  Really, that was the best part.

You can find the cupcake and filling recipe here. I will make cream filled cupcakes a lot more in the future I enjoyed them so much.  A quick note, I made these on sort of a hot day here, keeping them refrigerated will make the filling MUCH better.  Otherwise it just sort of loses it's creaminess. The picture taken above was after they were refrigerated.

The chocolate cupcake recipe is delish, great chocolaty flavor without overpowering the filling. 

I also liked my choice of frosting here, it didn't overpower the cupcake or filling.